
When it comes to online retail, WordPress is the most popular CMS platform. It’s easy to use and offers a lot of flexibility when it comes to customizing the look and feel of your online store. In this post, we’ll walk through the process of setting up an eCommerce store on WordPress from start to finish.
1. Score the perfect Domain Name
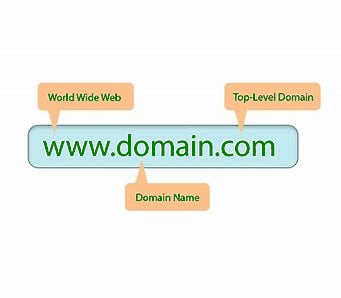
First, you need to decide on a domain name that is attractive and easily remembered. A good domain name can be a deciding factor when it comes to attracting customers. When choosing a domain name for your website, be sure that it is relevant to your business. You should avoid using words that might be confusing for your customers. For example, your company name isn’t going to make much sense to visitors. You can also avoid using too many hyphens and special characters in your domain name.
2. Sign up for a Hosting Provider
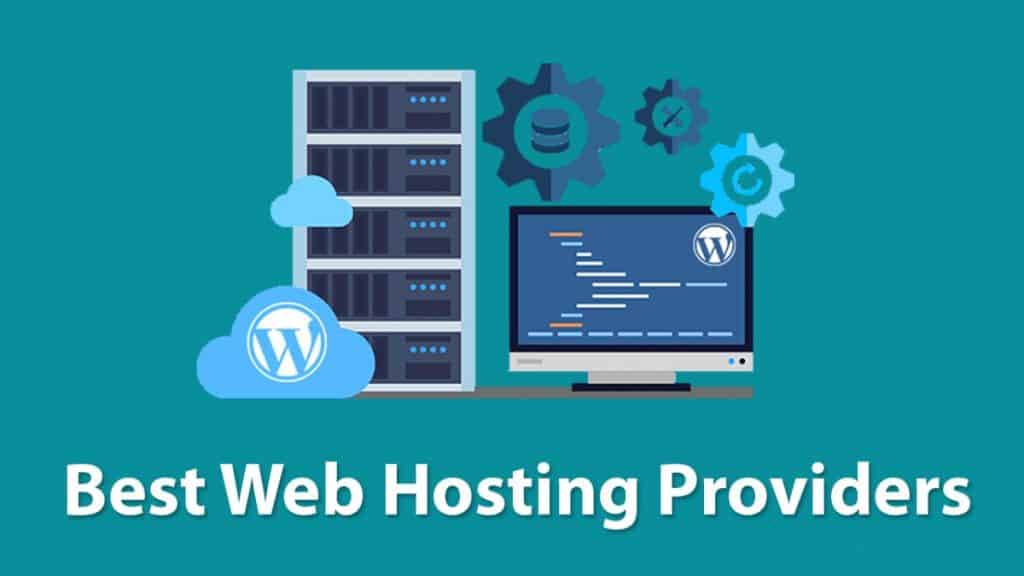
There are different types of hosting providers available. You can either choose between shared hosting, dedicated hosting, and VPS (Virtual Private Server). You will have to choose the one that is appropriate for your website. For example, if you are selling fashion accessories, you should opt for dedicated hosting. But if you are planning to sell food products, then you should consider using VPS. In order to choose the right hosting provider, you should know which type of hosting is the best for your eCommerce store. This is because the best hosting provider will give you the best performance for your website.
3. Install WordPress

When you install WordPress, you can start creating a website for free. This is very useful because you will not have to pay anything when you first launch your website. You can always upgrade to a paid plan later. When you first create a website, it is very important that you install WordPress. This will enable you to make changes to your website as you like.
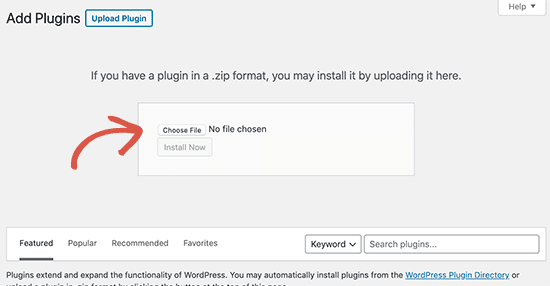
4. Install and Configure WooCommerce
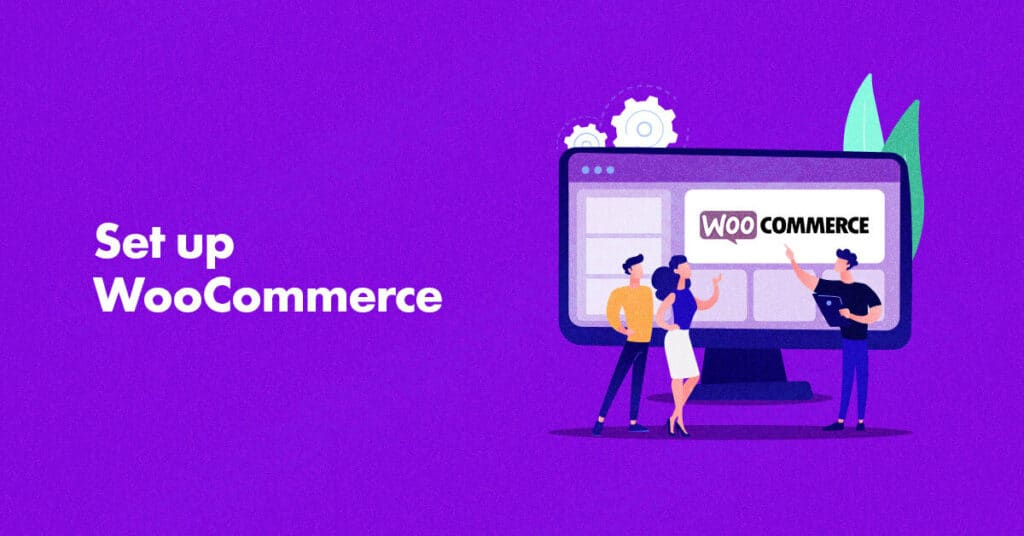
Once you have installed WordPress, you will need to install WooCommerce. This will help you to sell your products online. Once you have done this, you will need to configure your store. This is a process that allows you to set up all the features of your website. After you have installed WooCommerce and configured your store, you can start selling your products online. This will help you to sell your products with ease.
5. Choose a Theme
There are hundreds of free and paid themes that you can use to build a website for your business. Some of these themes have features that allow you to create a site that looks just like a popular website. If you are looking for a theme that will look professional, you will need to choose a premium theme. Premium themes have more features and options than free ones. They also have more security and stability.
6. Add Products

You can add products manually by uploading them. You can also add products using a feed. You can also set the products to be automatically added to your inventory. These types of products are available for free. There are also options to purchase them. You can download them and install them yourself, or you can buy them from a third-party company.
7. Install additional Plugins
Some plugins are helpful in displaying content on your site, while others help you to add functionality to your website. Some plugins can make your site look different. Other plugins allow you to create a more customized and professional appearance for your website. If you don’t know what you are doing when installing plugins, you can end up making your site look ugly. In addition, you may have to spend hours trying to fix problems that were created by poorly designed plugins. Plugins are like extensions to WordPress. WordPress is open-source software. As a result, they are not supported by a company. You can install them yourself. You can also download and install them manually.
8. Add Content that Converts

Most website owners are willing to learn new things. As a result, they should be willing to make changes to their website. This means that they will need to learn new ways to make their website look great. The first step to making your website look great is to add content that converts. A lot of website owners don’t understand what this means. If you don’t know what it means, you will find it very difficult to add content that converts. It is an essential component of your website.
9. Make your Site Public
Making your site public means making your site accessible to the public. You can use one of two methods to make your site public. The first method is to make the URL public. You will need to change your web address so that anyone can visit your site. There are many ways to change your web address. One way is to change the URL in your web browser. Another way is to use a DNS provider such as GoDaddy.com. To do this, go to www.godaddy.com and click on the link for DNS. Then select “Change DNS Hostname”. This is how you will make your website public. You should also use a web hosting company that offers a free domain name.
Conclusion
In conclusion, for a great eCommerce store, you need to start with a good design and build a website that is easy to navigate and that looks good. Then, you need to find a way to get people to visit your website. WordPress is a free and open-source content management system (CMS) that lets you create websites quickly. If you’re a WordPress developer, you can also use a WordPress plugin to automate most of the processes involved in eCommerce.