
Learn How to Install Google tag manager (GTM) on Your Website
Installing the Google Tag Manager (GTM) is very easy and one can implement it on it’s own or with the help of a developer.
Why Should You Use GTM – You Can Read It Here.
Let’s start the step by step process of getting the GTM code and putting that code in a website.
In this tutorial, we will install the code in a WordPress Website…
1. Firstly You Need to visit GTM Url – https://tagmanager.google.com/
2. Login With Your Google Account

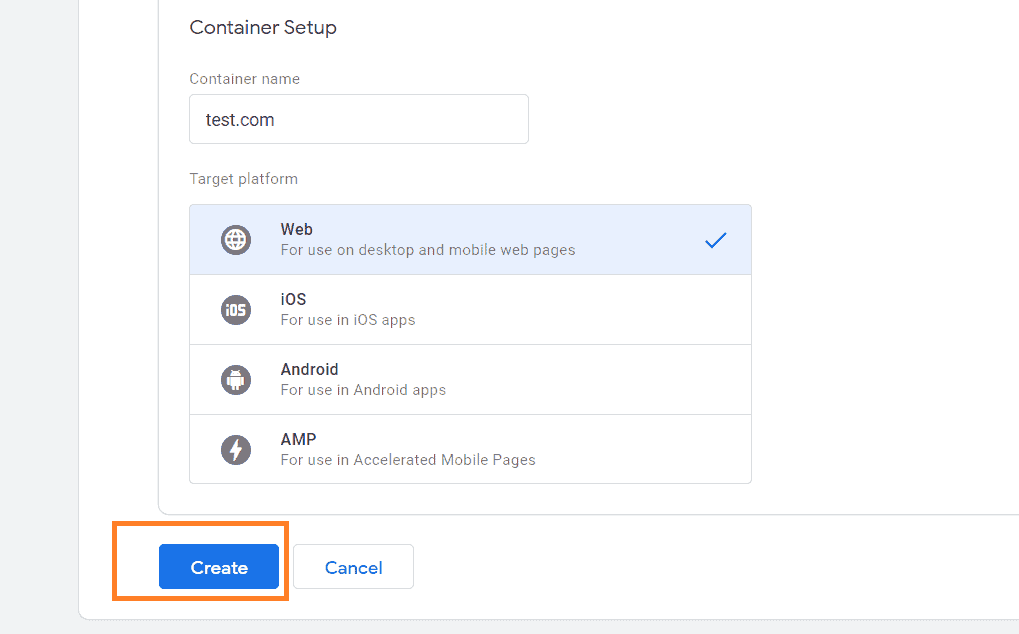
3. Click On “Create Account” – You need to create different accounts for your different websites or apps.

4. Now, Fill all the necessary details and click “create”
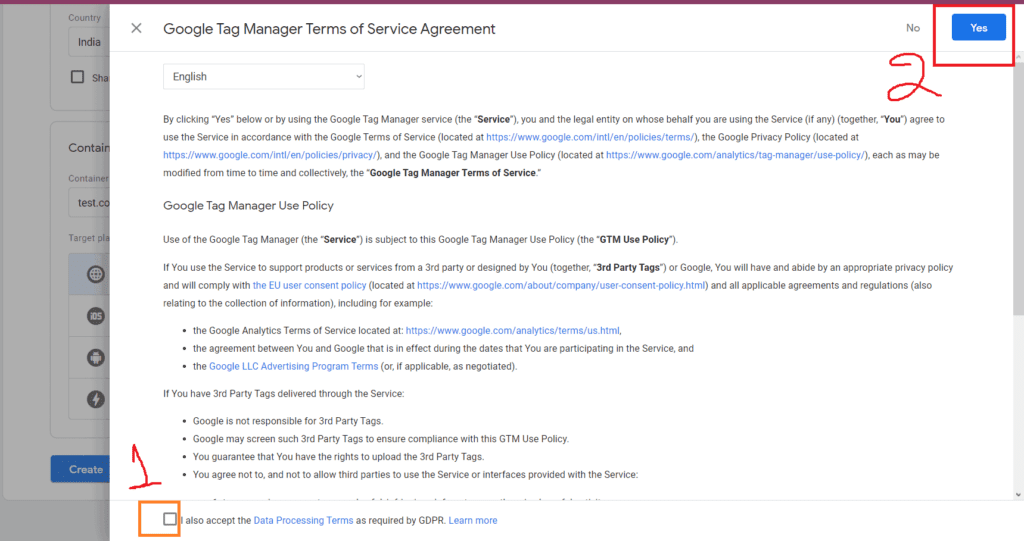
5. Now, Accept The “Data Processing Policy” and Click “Yes”
6. Now, You should receive the codes for installation on your screen, which looks something like this –
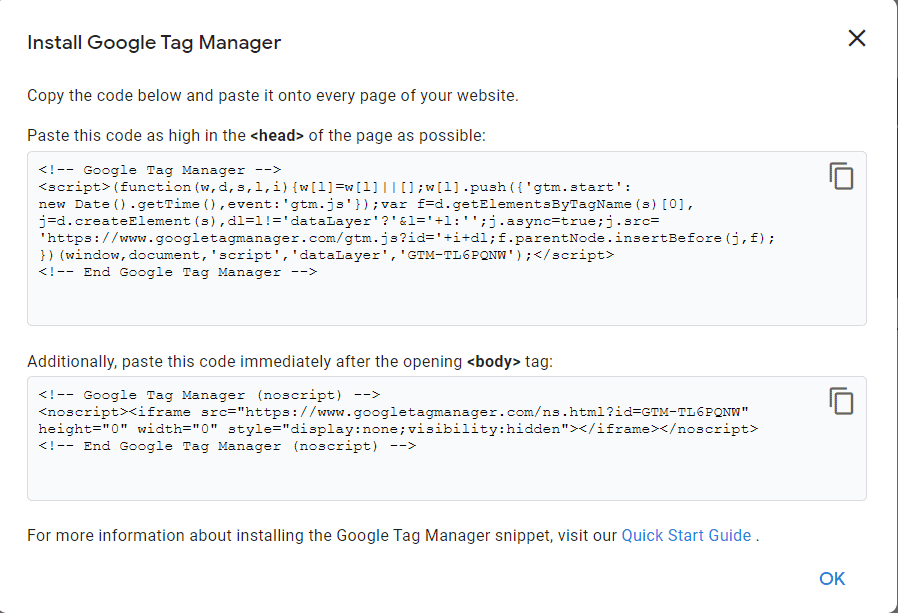
Remember - First Code Needs To Be Placed In Header and Second Code Needs To Be Placed In Body Tag for GTM to work properly.
Let’s Install Google Tag Manager (GTM) On a WordPress Website
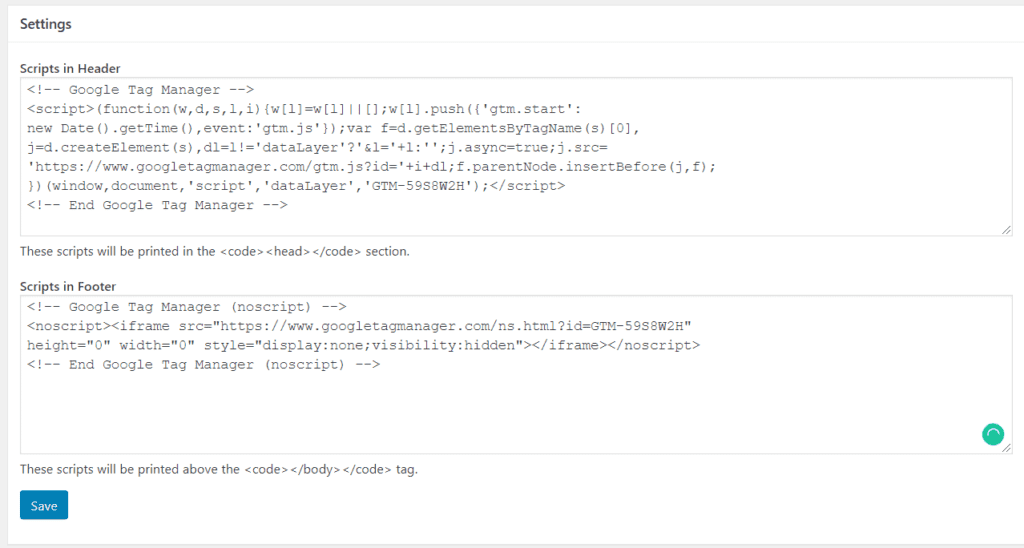
7. Install Plugin “Insert Header and Footer” – You can use any other plugin at your convenience
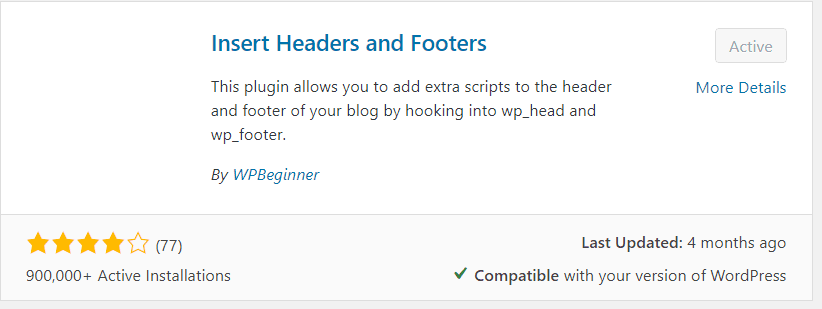
8. Open the Settings of “Insert Header and Footer” and copy the GTM Code. And Click On “Save“.
Now, You Are Done.
Congratulation, You have successfully Installed Google Tag Manager (GTM) on you website. Now, you can utilize it’s full power.
Don't Forget To Put "Header Tag" In Header Section and "Body Tag" in Footer Section(Above Body Tag).